How to Use Get My Identity

Set up your professional profile in minutes

1. Getting Started

Before You Begin

Gather these materials to make setup faster:

  • Professional headshot or avatar image
  • Current resume or CV for reference
  • Links to social media profiles
  • Your desired subdomain (e.g., jordan-lee)

It also helps to think through what content you want to write for your Profile Section (about, experience, portfolio, etc.). You don't need to enter this immediately after signing up, but having a plan makes it easier.

Welcome to Your Dashboard

After signing up and logging in, you'll land on your personal dashboard. This is your command center where you'll build and customize your profile.

The dashboard is divided into four main sections:

  • Profile Setup - Enter your display name, headline, and bio
  • Contact Management - Add your website, email, and social media links
  • Avatar Upload - Upload your profile picture
  • Profile Section - Add your about, experience, portfolio, or any other content you want to share

Remember to save your changes whenever you update your Profile Setup or Contact Management.

↑ Back to menu

2. Filling Out Your Profile

Basic Information

Your profile consists of several key fields that help others understand who you are and what you do.

1
Display Name

Your professional identifier. This appears prominently at the top of your profile.

2
Headline

A brief, memorable description of your role (e.g., "Product Designer" or "Software Engineer").

3
Bio

Your professional story. You can use HTML formatting for links and emphasis.

4
Contact Links

Add your website, email, LinkedIn, GitHub, X, and more.

5
Profile Section

Add your about, experience, portfolio, or any other content you want to share. This is the main content area of your profile.

💡 Pro Tips

Write your bio in the first person ("I am a designer focused on...") rather than third person. It feels more authentic and personal.

You can use HTML in your bio to create links and format text:

<a href="https://yourproject.com">My Project</a>

Keep your headline concise. It should be instantly scannable. Focus on your current role.

↑ Back to menu

3. Uploading Your Avatar

Image Specifications

For best results, use an image that meets these criteria:

  • Format: JPG, PNG, or WebP
  • Size: Under 3MB
  • Content: Centered face, plain or simple background

Tip: Any image size works. The system will display it properly. Square images look best, but rectangular images are also supported.

Upload Process

1
Click the avatar area in the profile editor
2
Select your image file from your device
3
Crop and adjust if needed
4
Click "Save" to upload

Note: You can update your avatar anytime. Changes take effect immediately after publishing.

↑ Back to menu

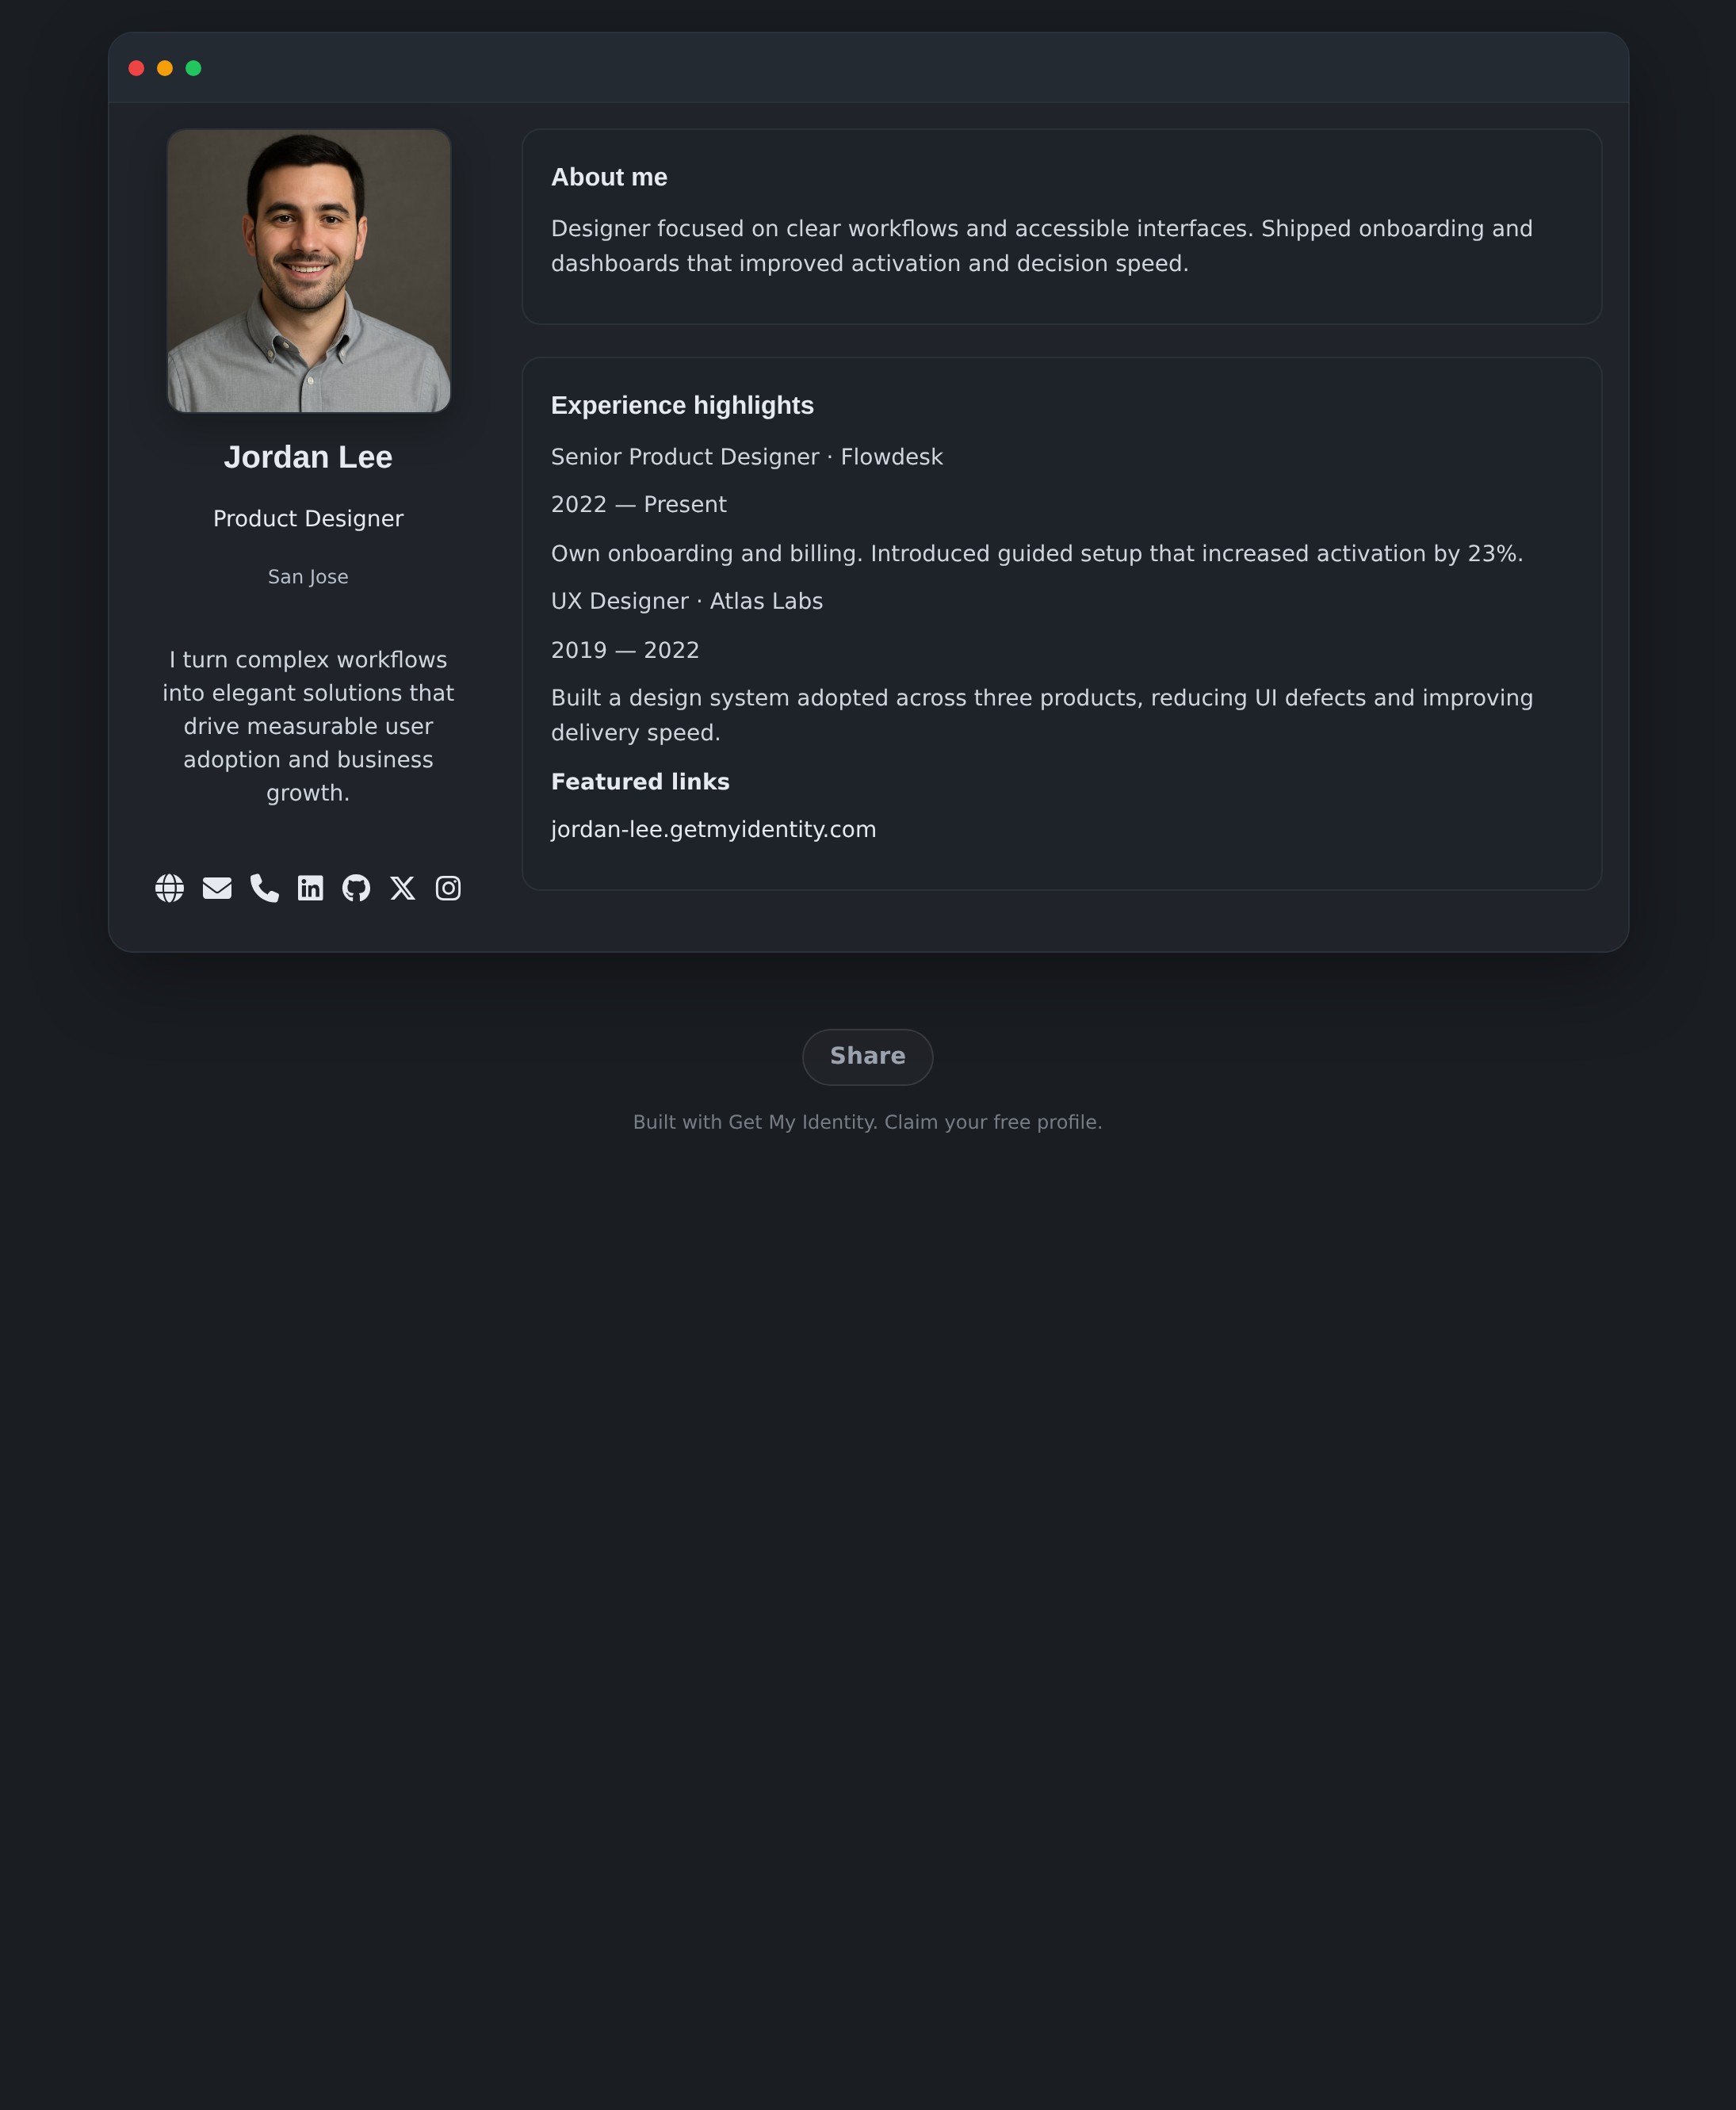
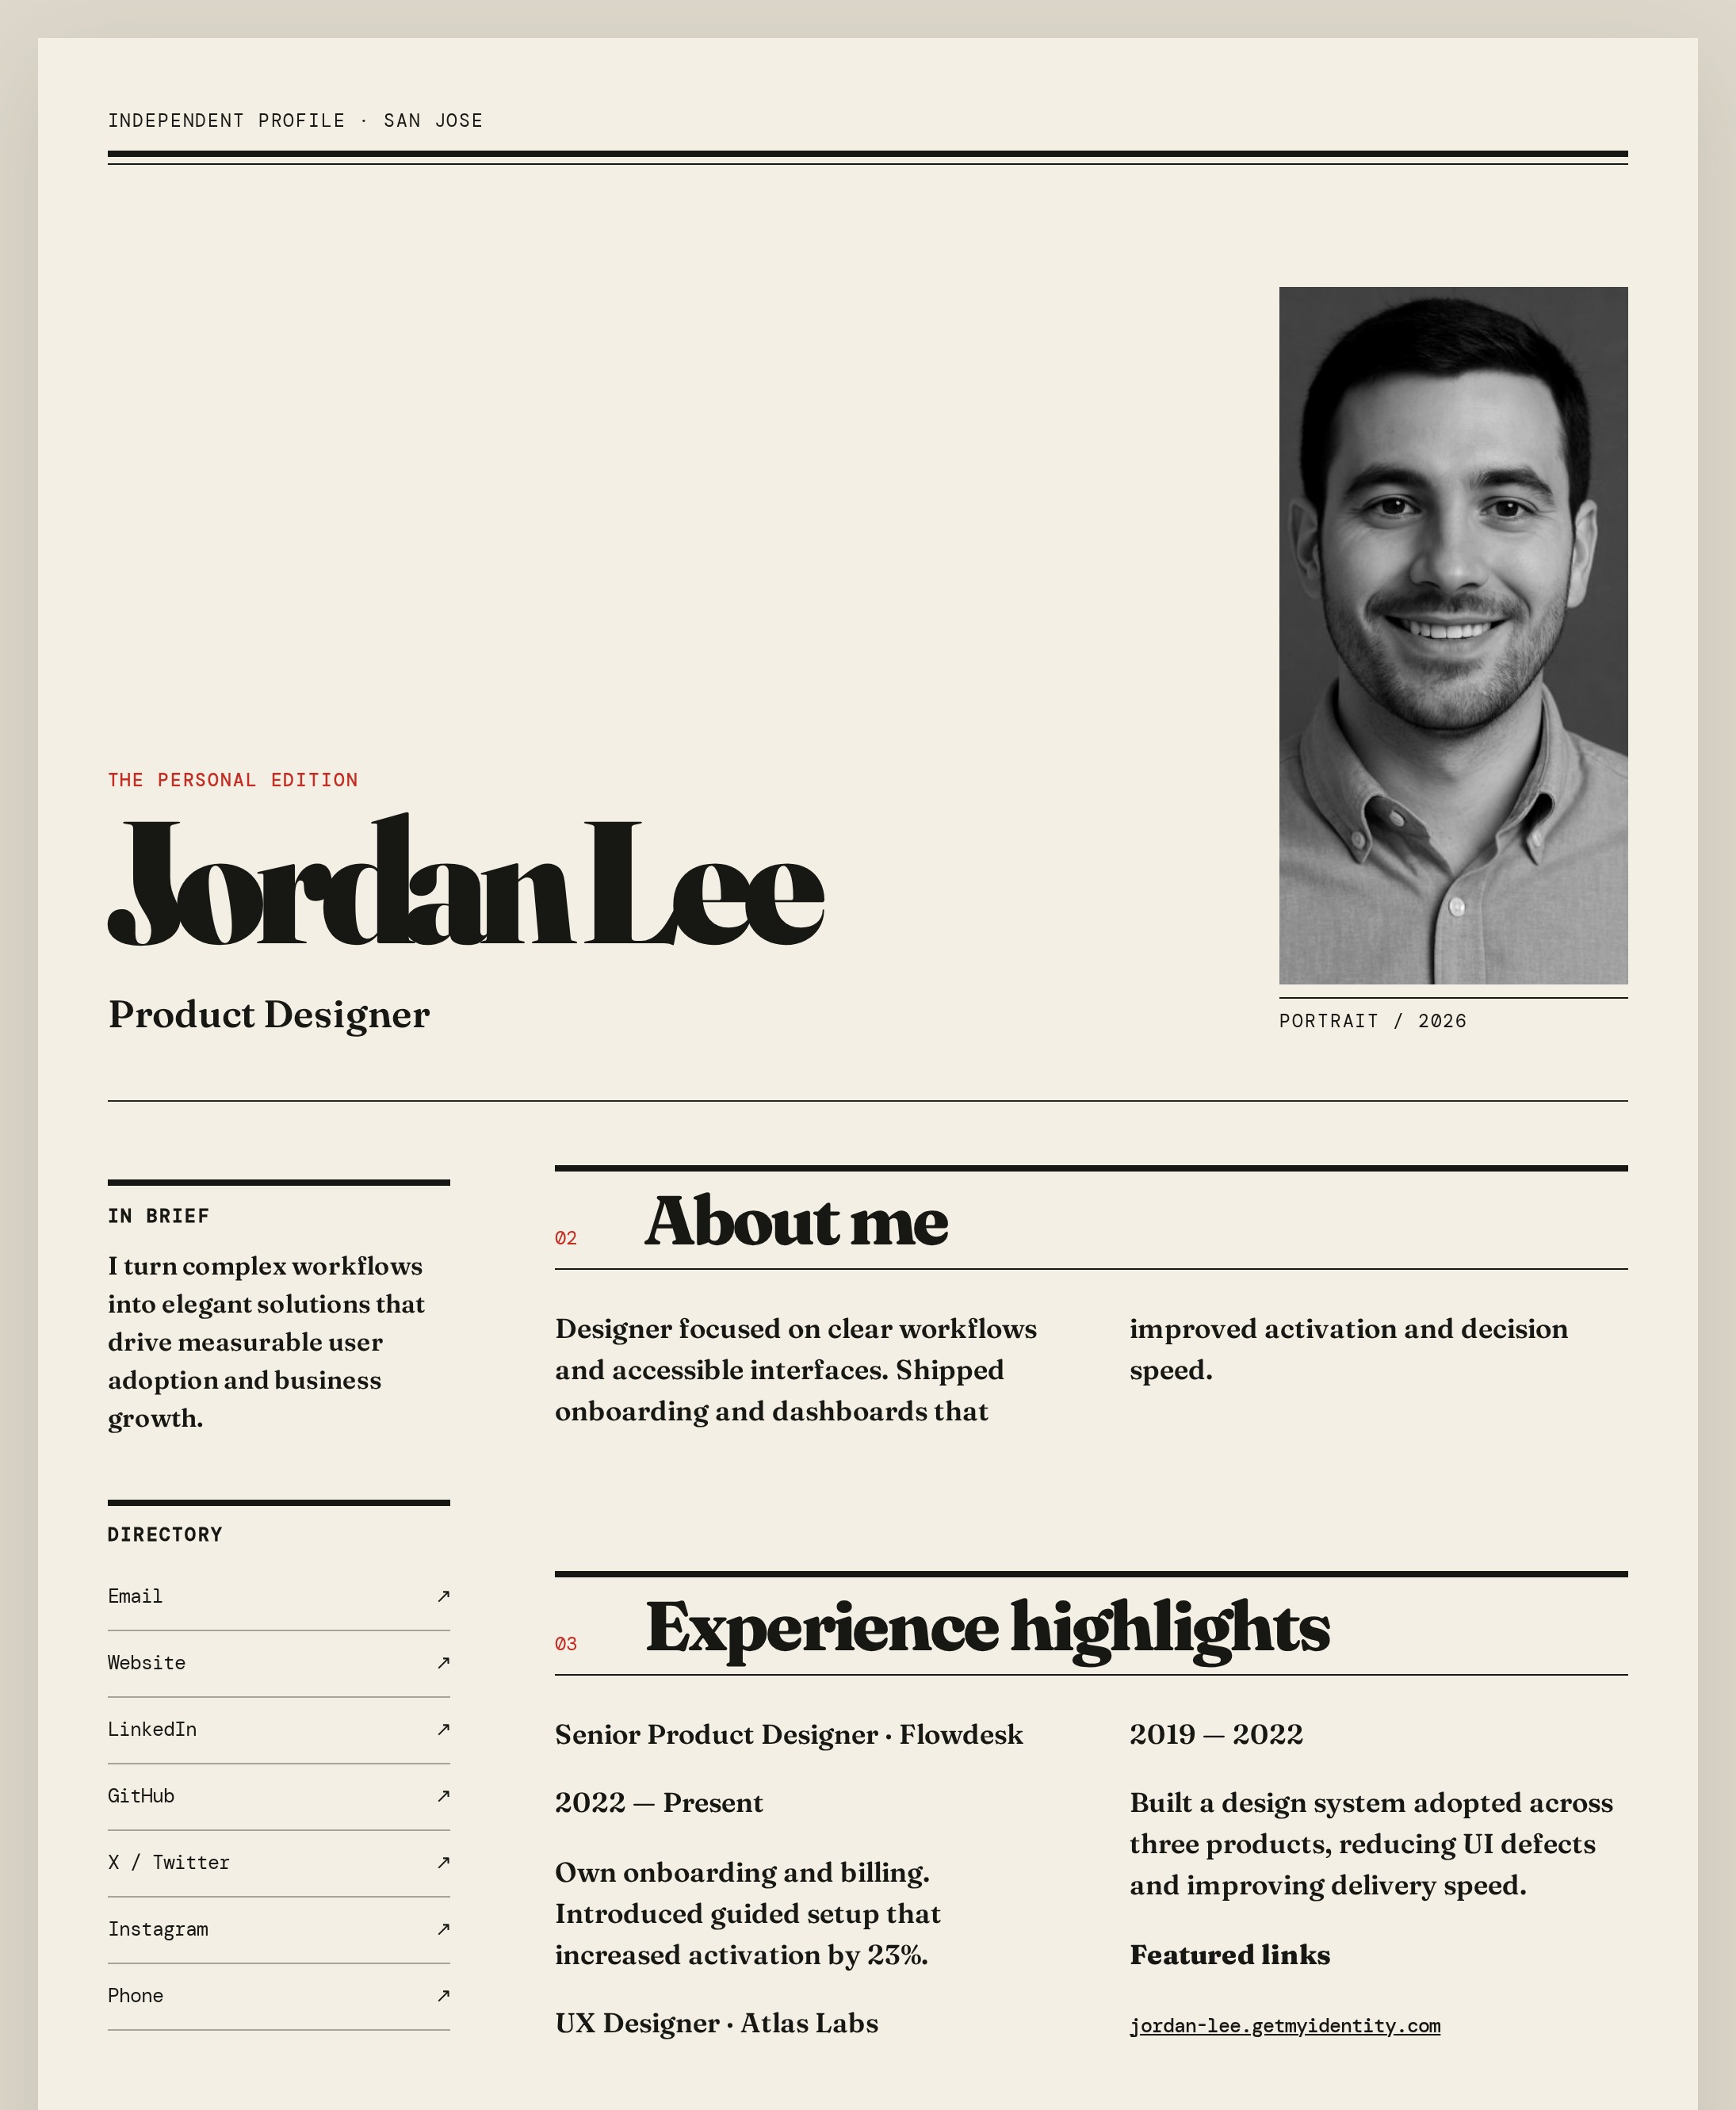
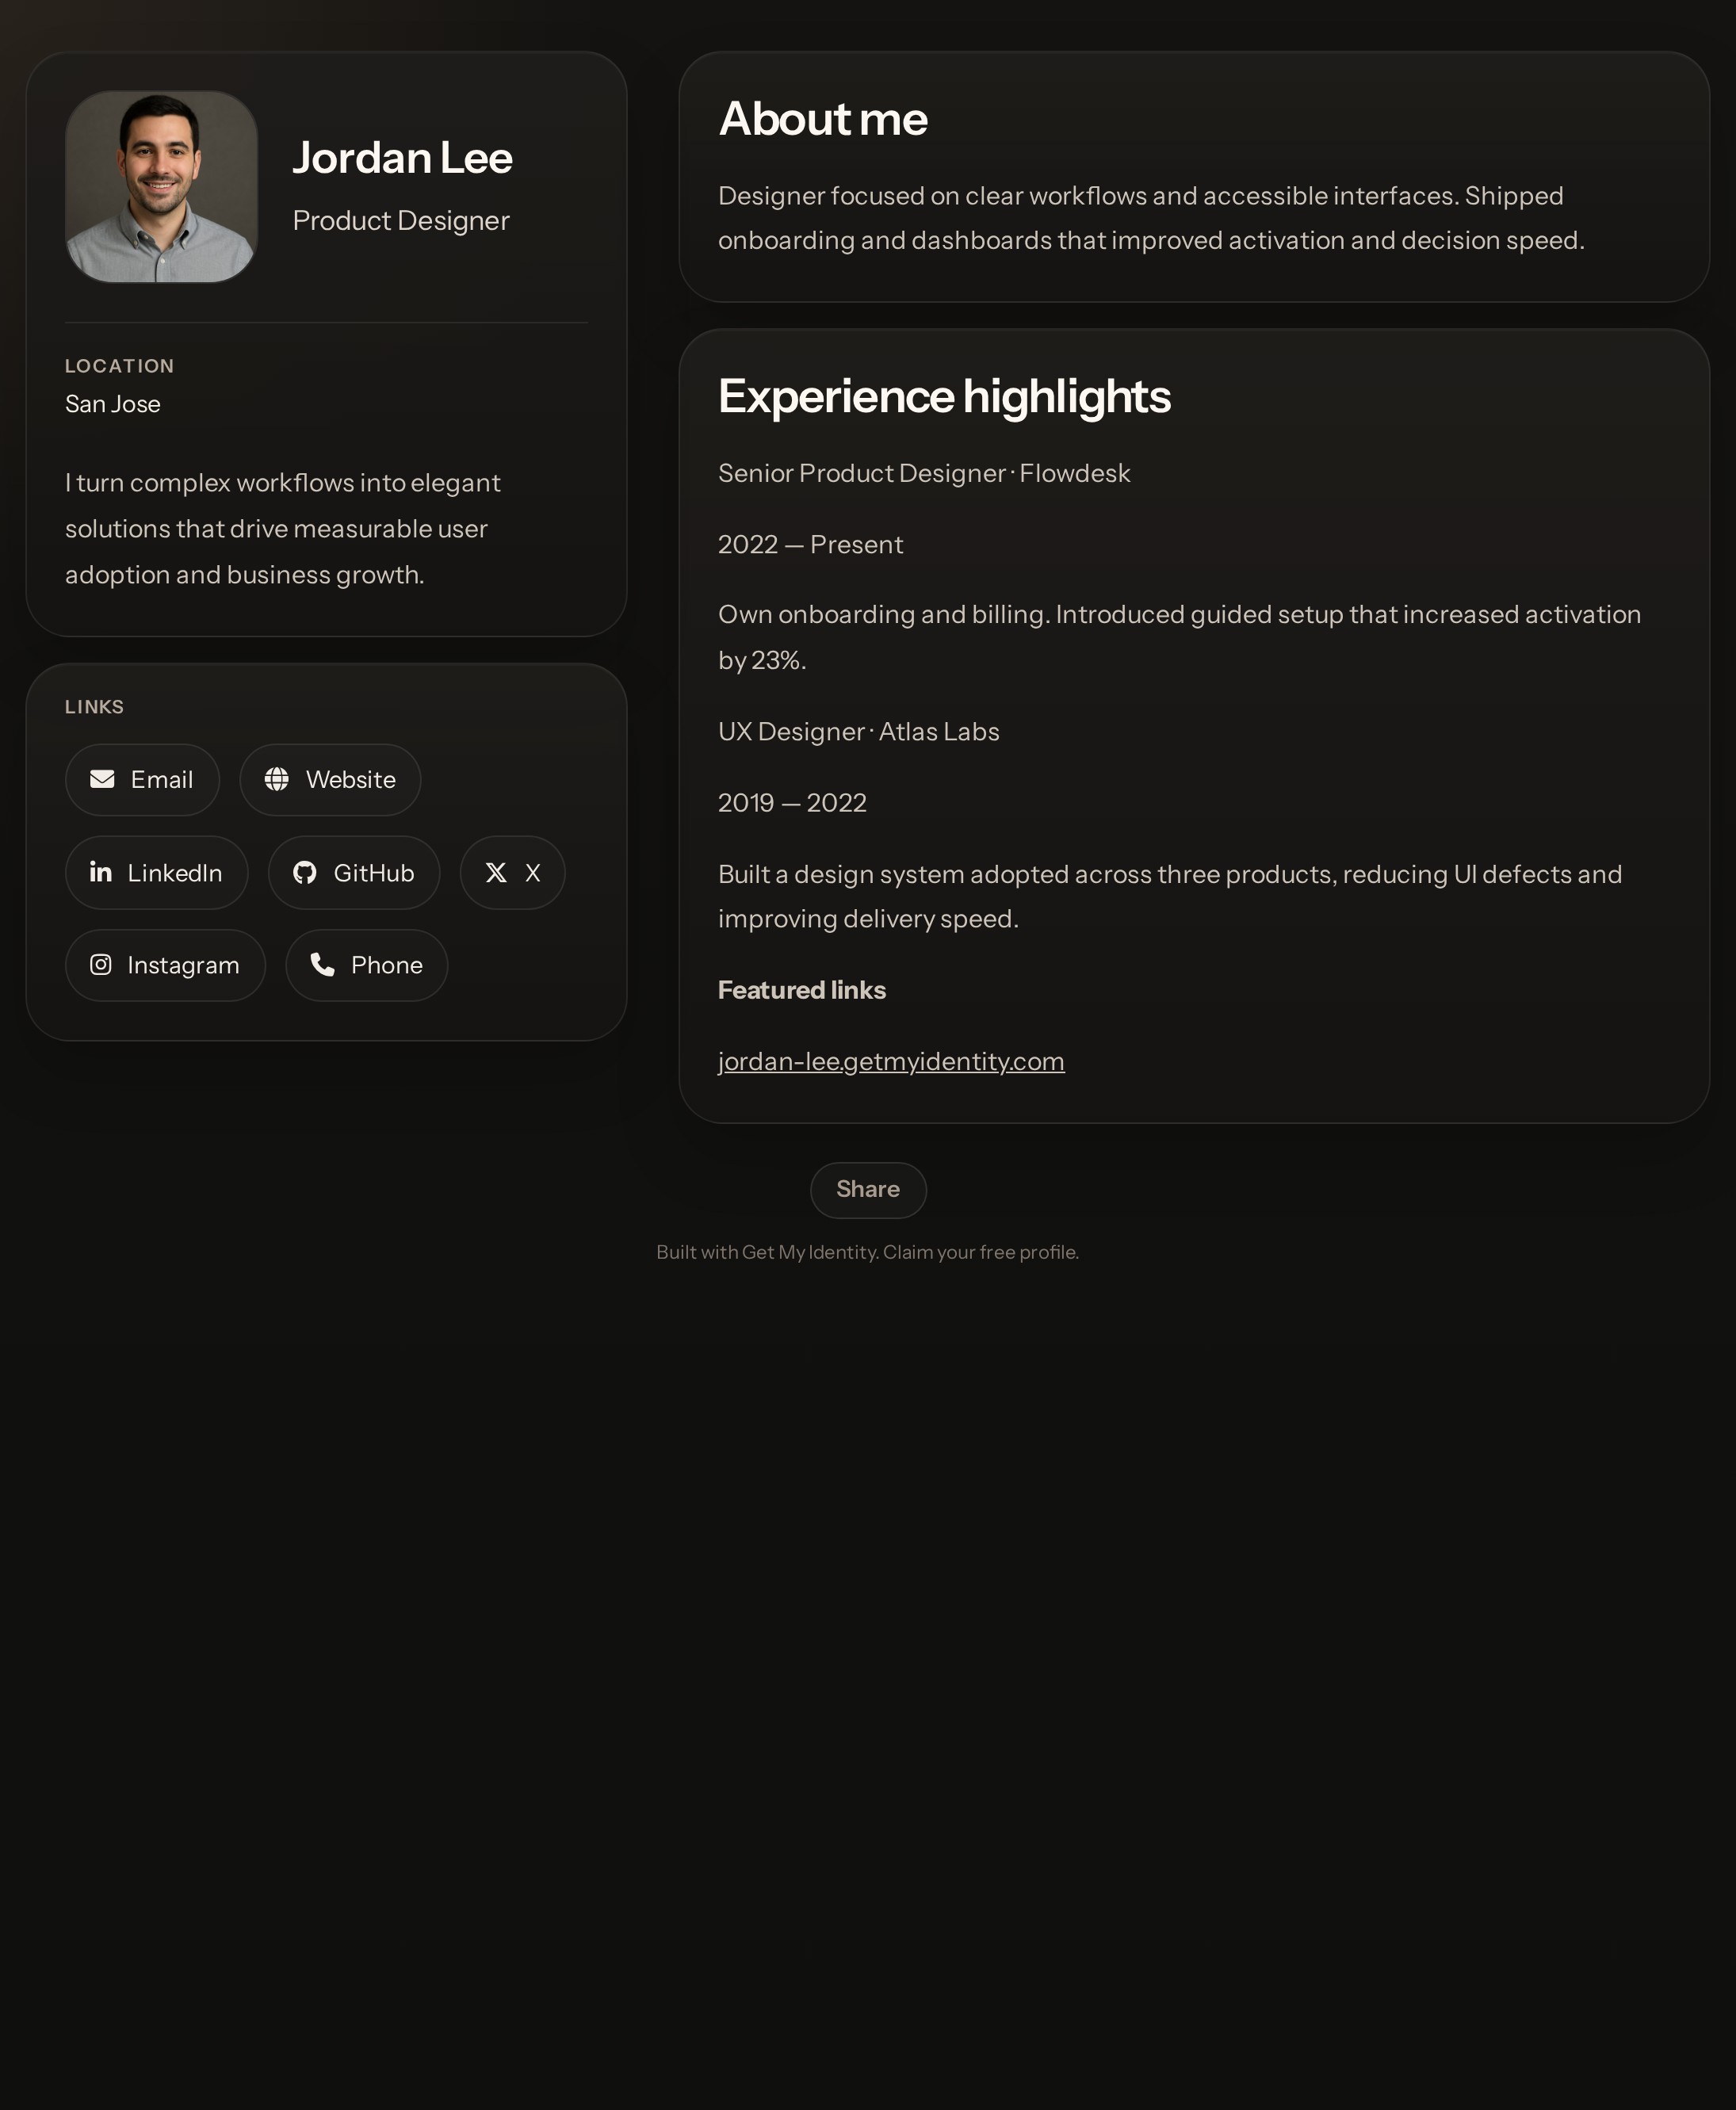
4. Selecting Your Theme

Choose Your Visual Style

Each theme includes a carefully crafted color palette, typography system, and mobile-optimized layout. Try different themes to find the one that suits you best.

macOS Theme Preview macOS
Dispatch Theme Preview Dispatch
Studio Theme Preview Studio

To change your theme, select the desired theme from the Profile Theme dropdown, then click Save Profile for the changes to take effect.

↑ Back to menu

5. The Publish Button

🚀 Making Your Profile Live

The Publish button makes your profile visible to the world. Only publish when you're ready because your profile becomes immediately accessible at your subdomain.

Before Publishing

  • Display name and headline filled in
  • Bio written and proofread
  • At least one contact link added
  • Theme selected
  • Avatar uploaded (optional but recommended)

After Publishing

  • Your profile goes live instantly
  • Accessible at yourname.getmyidentity.com
  • Shareable link available
  • Searchable by search engines
↑ Back to menu

6. Accessing Your Published Profile

Direct URL Access

Your profile is always accessible at:

yourname.getmyidentity.com

Share this link on your LinkedIn profile, X bio, email signature, resume, and anywhere else you want to direct people to your professional identity.

Tip: You'll also find your profile URL displayed at the bottom of your dashboard after publishing.

💡 Pro Tips: From Your Dashboard

In the header, look for "Welcome, [Your Name]" next to the logo. Click this link to open your published profile in a new tab.

This link always takes you to your live profile, so you can quickly verify changes after republishing.

↑ Back to menu

Ready to Build Your Identity?

Log in to your dashboard and get started.

Go to Dashboard